Setting up a multiple-Raspberry PI web server: Part 1 (What You Need)

I finally got around to buying a few raspberry pis, with the intention of setting up a multi-node webserver (powered by multiple raspberry pis).
I think this is a particularly cool exercise because it's a cheap and easy way to get a feel for roughly what's happening "behind the scenes" when you visit any big website.
By the end of this blog post, you will know all the equipment you need to set up multiple raspberry pis that can exchange messages with each other and with other computers on your network.
My next blog posts will cover other cool things, like actually setting up a webserver, using HAProxy to load balance incoming requests, using a shared Redis instance for caching, etc.
Step 1: Get Equipped
Unfortunately, Part 1 of this guide is all about purchasing the necessary equipment.
Fortunately, I've included links to everything you need:
- 3+ raspberry pis ($41.95 each)
- I bought 3 because that's the smallest number that will still allow you to do cool stuff.
- 3+ 8GB micro SD cards ($5.68 each)
- One for each raspberry pi
- This is where the pi stores everything (eg. the data, the os, etc)
- Basically, if you take an SD from one raspberry pi and put it into another raspberry pi, it will work exactly the same as before.
- A micro SD card reader/writer ($8.99)
- This may already be built into your computer, so there's a chance you won't need to buy this.
- A network switch ($22.38)
- Basically, you need all your raspberry pis to have access to your home internet. This is the easiest way to make that happen.
- There are other options here (raspberry pi wi-fi dongles, plugging directly into your home router, etc), but this is probably the easiest option.
- A micro USB charging station ($9.99)
- Those raspberry pis won't be very useful without power.
- This can provide power for up to 4 raspberry pis at once (and also works great with android phones, kindles, etc).
- Micro USB Charging Cables ($8.87)
- #5 isn't very useful unless there's a way to connect things to it.
- In addition to working great, these are also the most colorful option.
- Ethernet Cables ($8.99)
- These go with #4--the network switch doesn't do much unless you can plug into it.
- There are 10 of these in here.
- OPTIONAL: 4 layer raspberry pi case ($45.99)
- It was initially really annoying to have the raspberry pis floating around my desk.
- This keeps them all in the one place, and it looks great.
- Definitely not necessary, though.
- USB Keyboard
- You probably already have one of these.
- USB Mouse
- You probably already have one of these.
- Monitor or TV that has an HDMI output
- You probably already have one of these.
- HDMI Cable ($5.09)
- This will allow you to plug your raspberry pi into the TV or monitor.
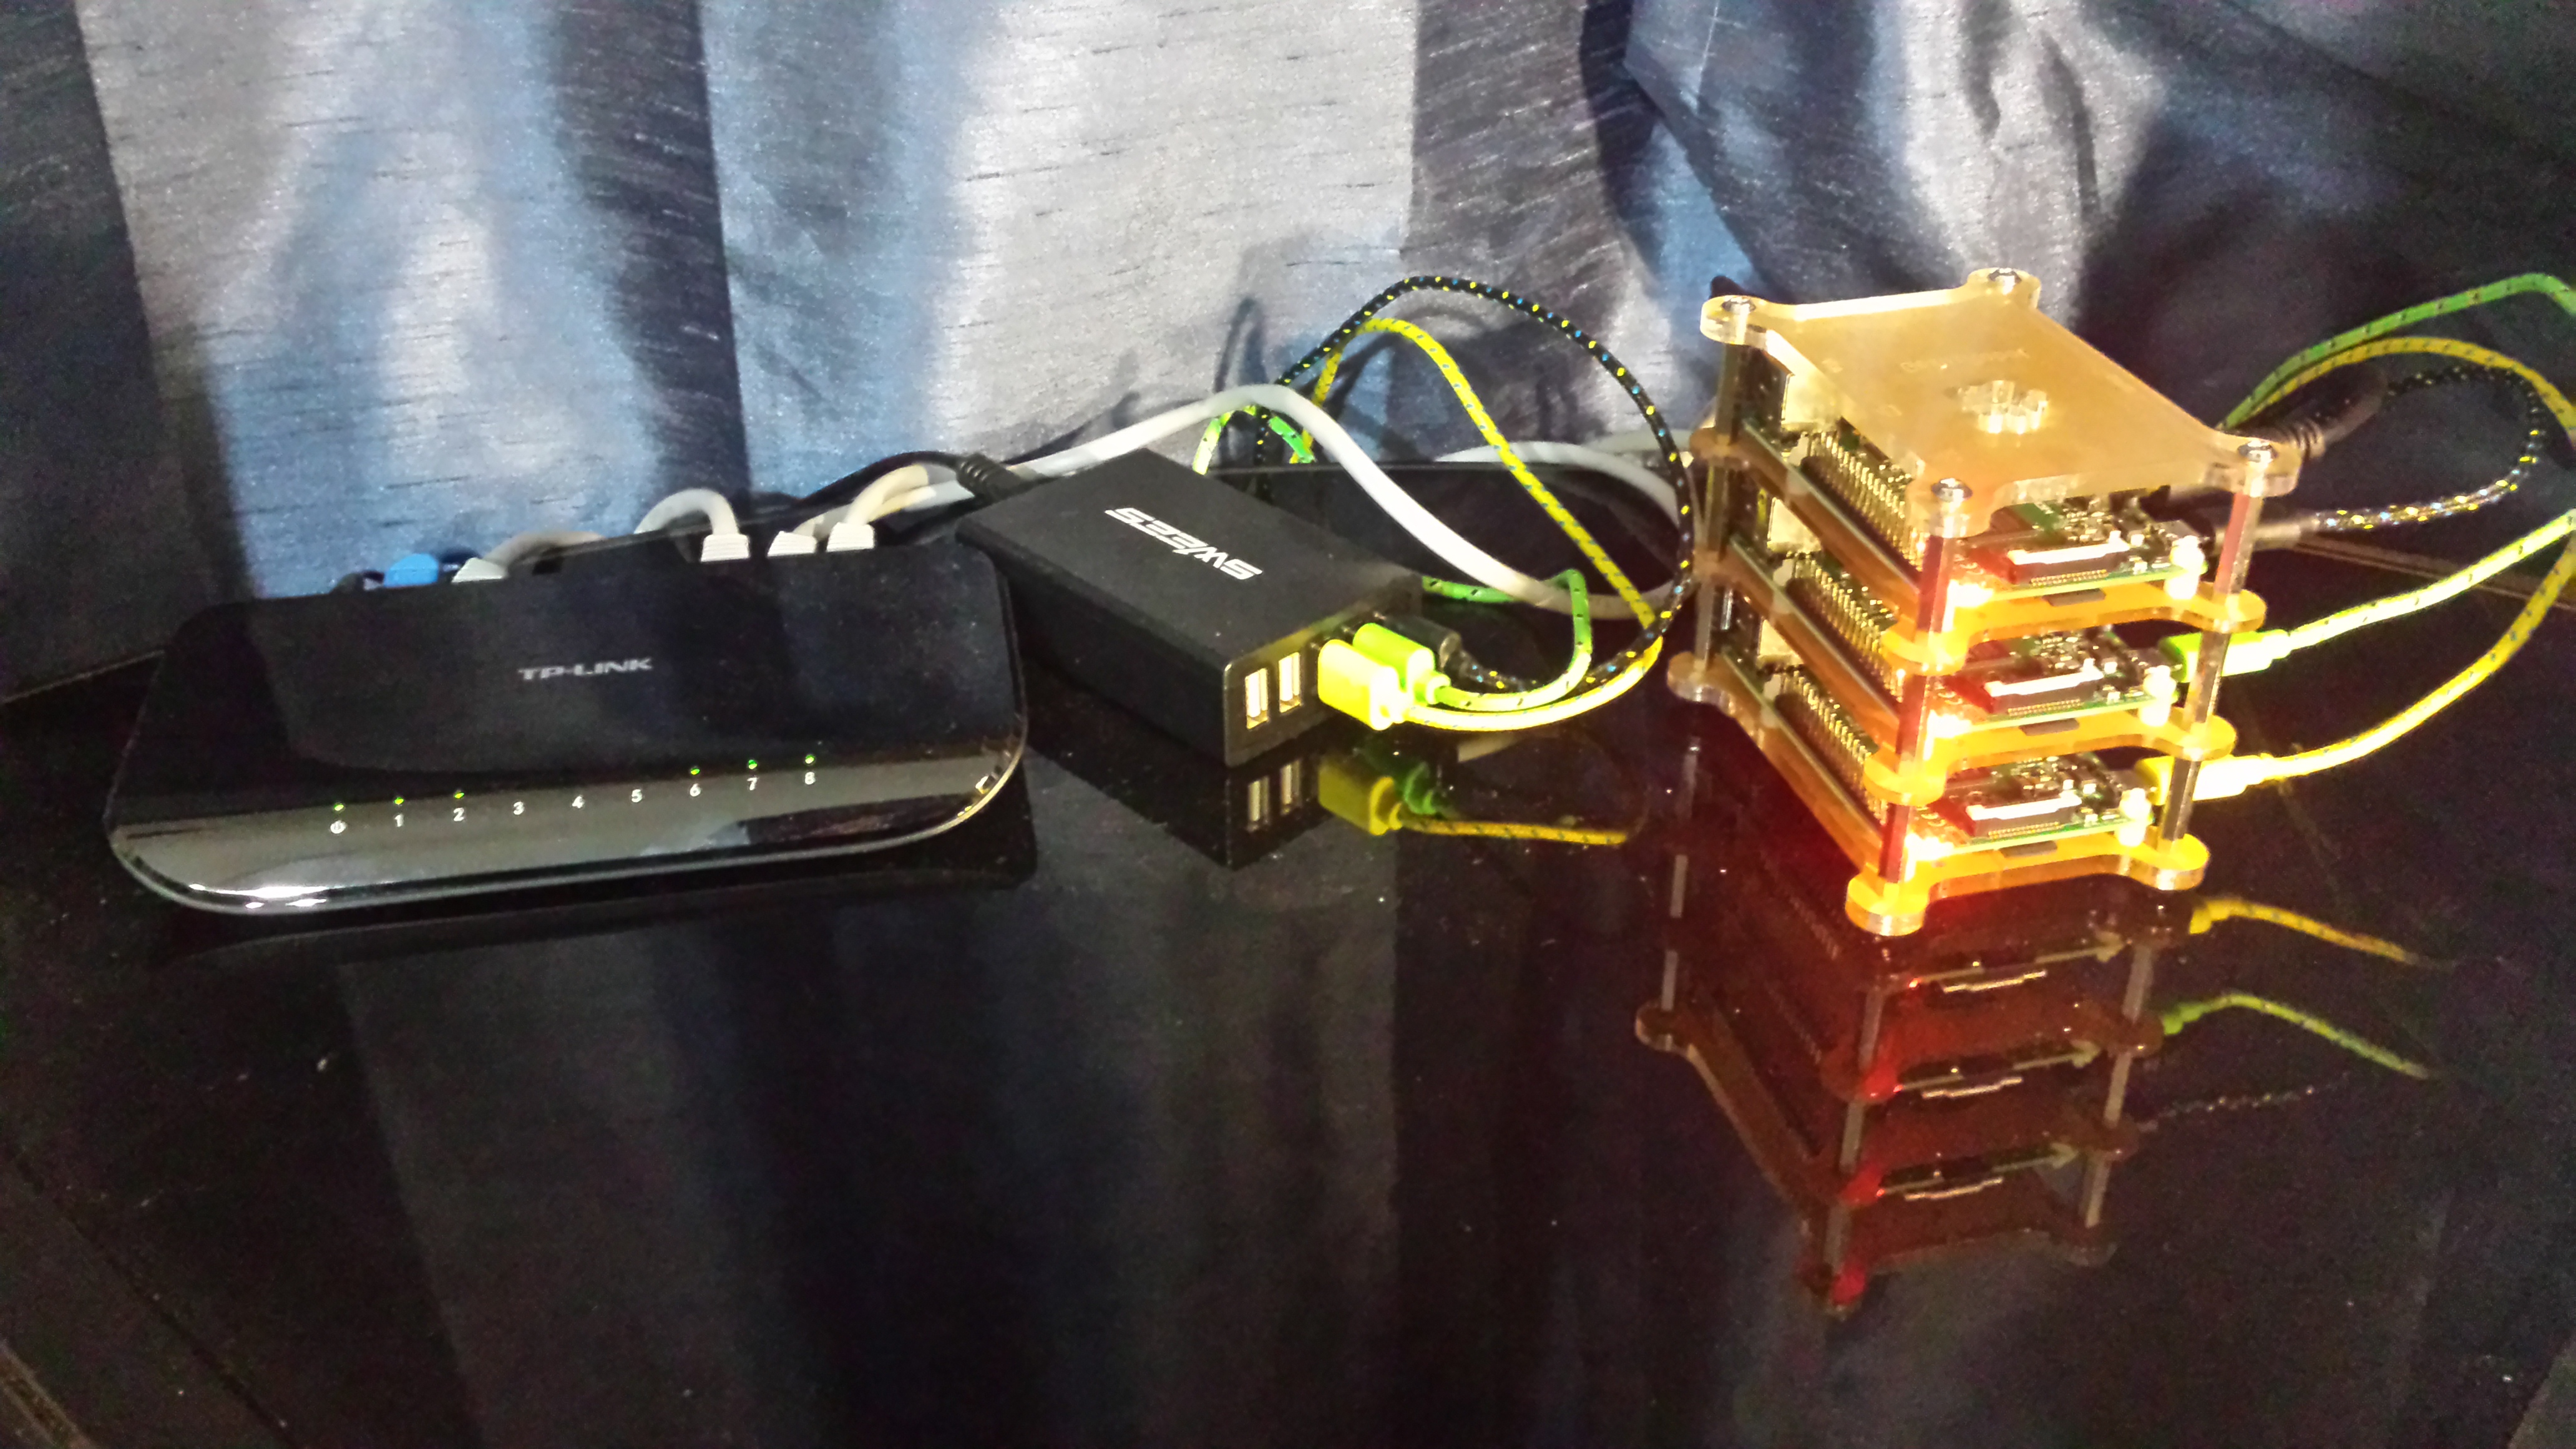
Here's a sneak peak of the finished result:

Some notes on the above:
- I'm not getting any money if you buy things from these links, but I did use smile.amazon.com links, so hopefully if you buy any of these part of the purchase price will go to a charity you like (I like the World Wildlife Fund, but you could choose another one).
- Obviously, all prices are as-of the time of writing, it's very likely some of these have changed since then.
- BIG thanks to my brother Teddy, who did this long before I did and helped me figure out what I needed to buy to make this work.
Anyway, that's roughly what you need to get started. Check out Part 2 to see how to set everything up!